|
Heathfield Home> Mast Images> Aerials> Site Images> UHF Coverage Map |
|
|
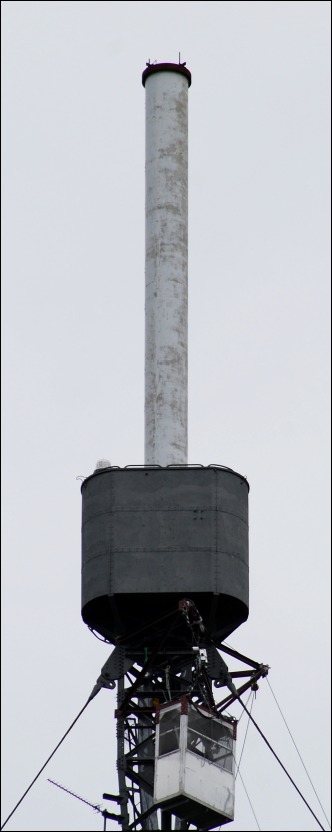
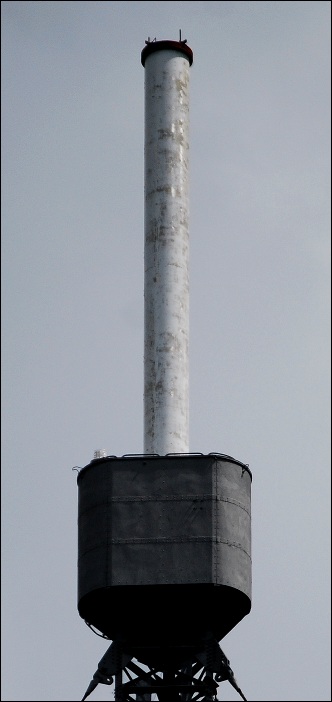
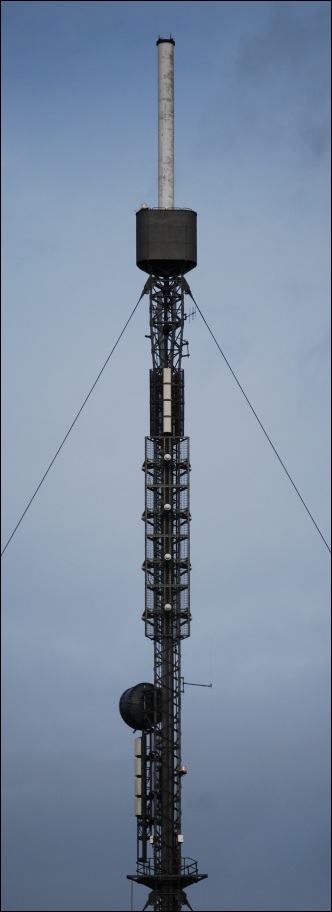
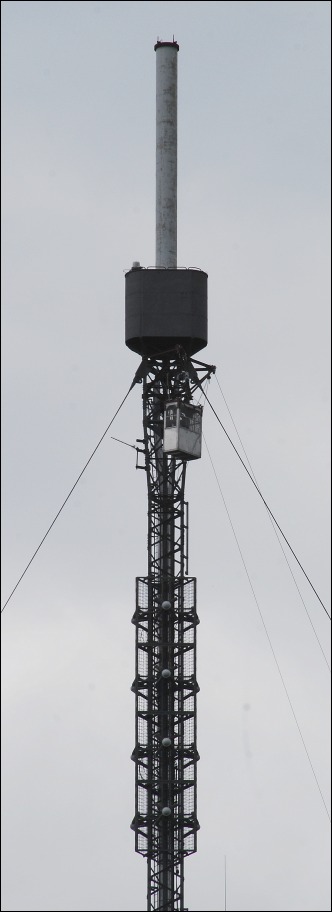
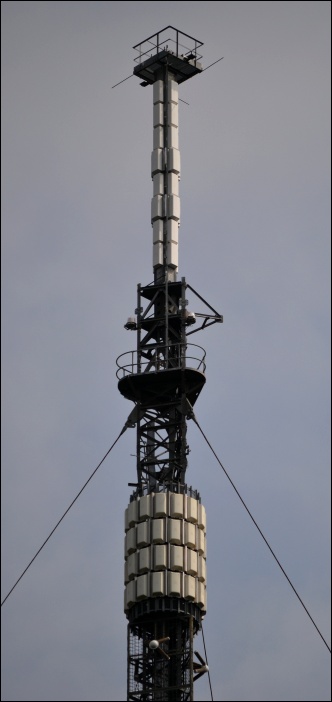
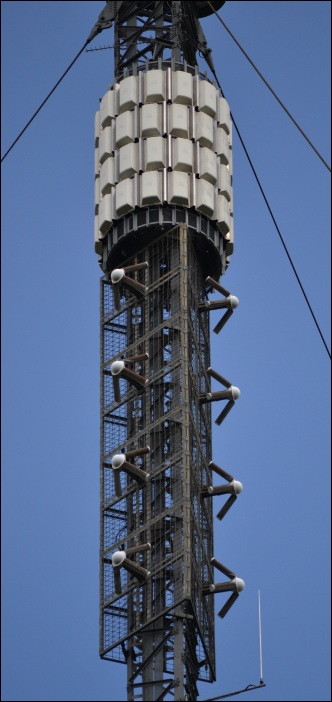
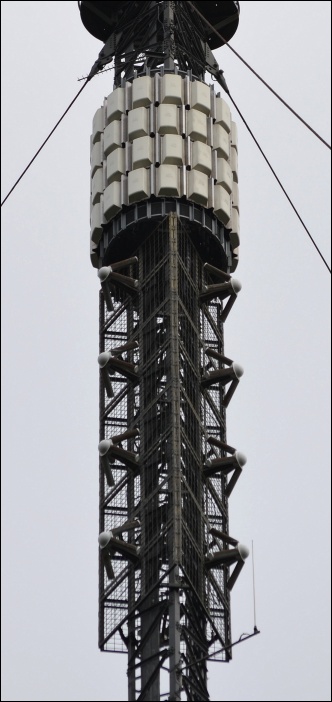
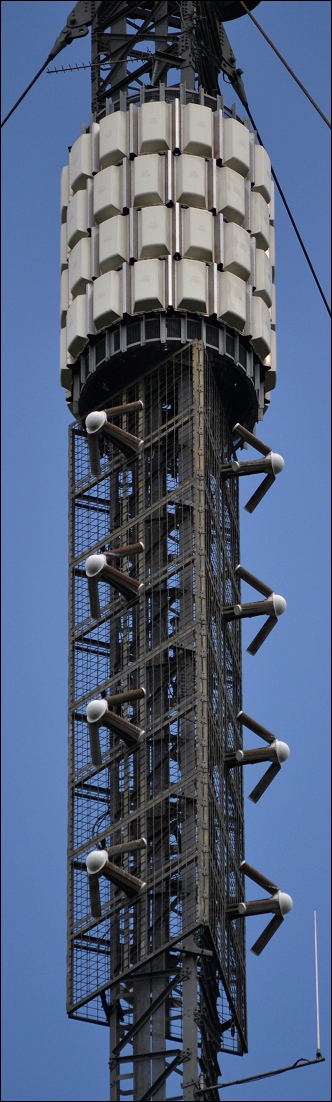
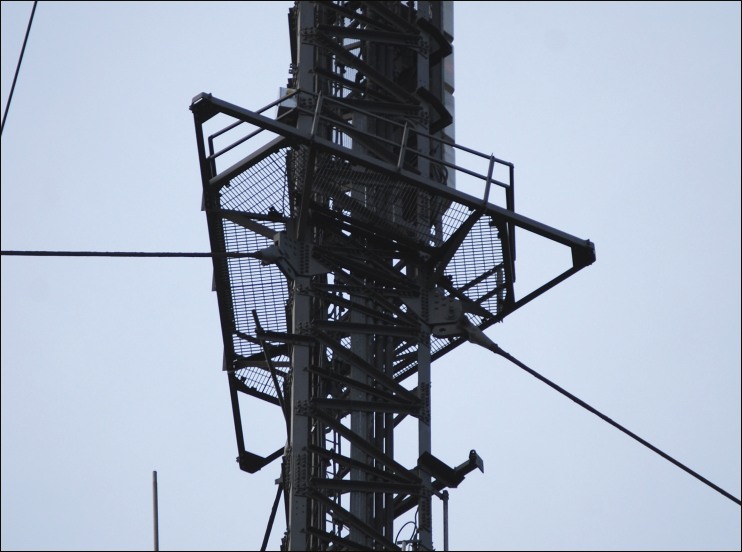
| The first six images below show the mast top section before re-engineering for Digital Switchover (DSO). The slim UHF cylinder combined with the charcoal grey walls around the triangular-shaped platform gave this structure a distinctive one-off appearance. Both characteristics were lost as a result of DSO. |
||
|
|
|
|
|
|
|
|
|
|
|
|
|
|
|
|
|
|
|
|
|
|
|
|
|
|
|
|
|
|
|
|
|
|
|
|
|
|
|
|
|
|
|
|
|
|
|
|
|
|
|
|
|
|
|
|
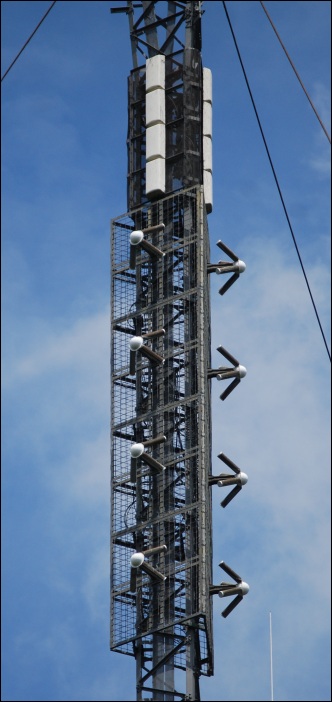
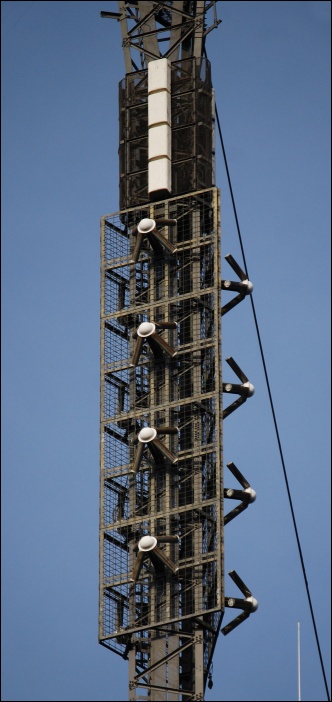
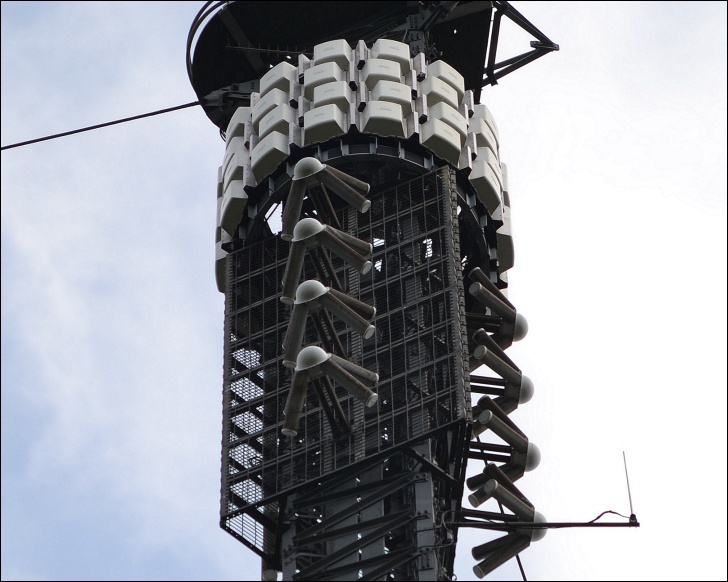
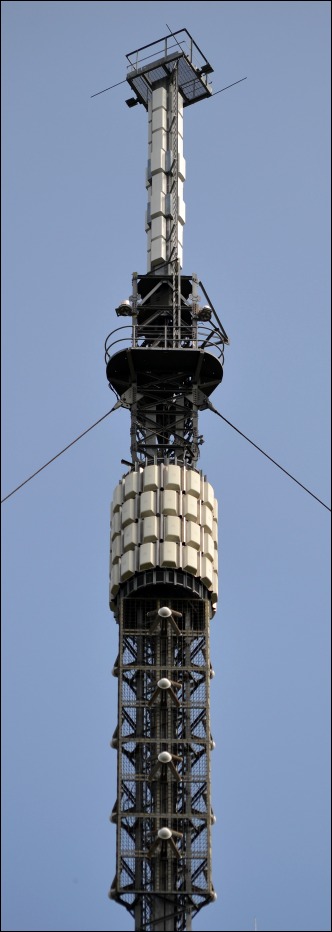
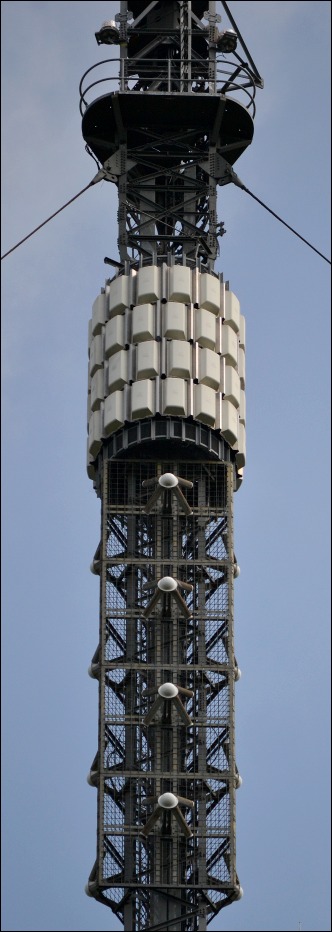
| Next: The next two images show the additional four-tier UHF panels deployed for the original low-power pre-DSO digital UHF services, positioned directly above the main FM Band II aerial stack. |
||
|
|
|
|
|
|
|
|
|
|
|
|
|
|
|
|
|
|
|
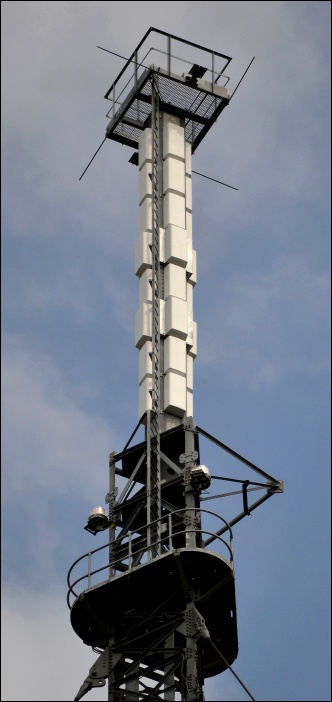
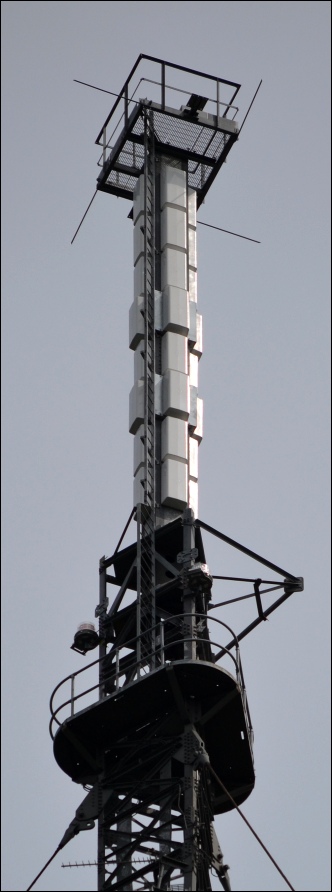
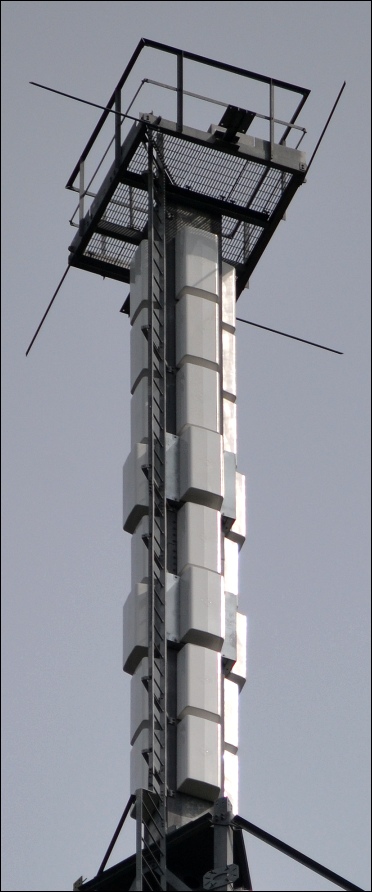
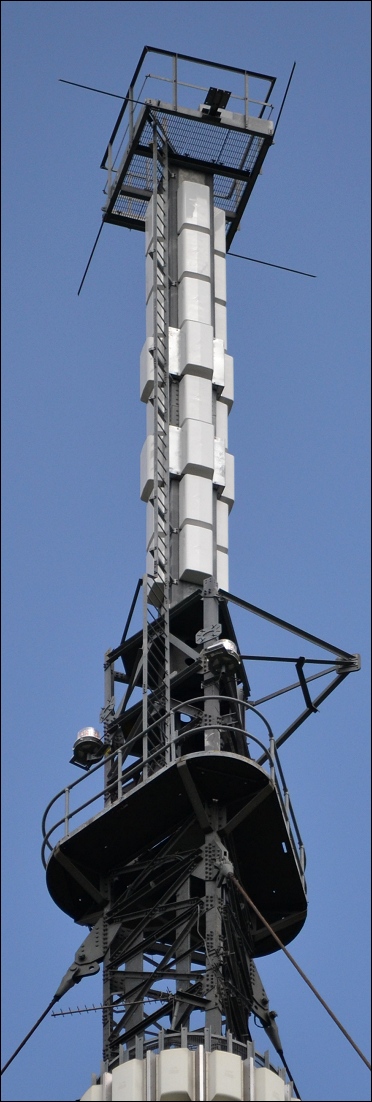
| Next: The post-Digital Switchover configuration. The original analogue UHF aerial cylinder has been replaced with a new eight-tier installation. Note the engineers platform and lightning-strike protection mounted on top. The triangular platform below the aerial has been retained but the protective walls around it have gone. |
||
|
|
|
|
|
|
|
|
|
|
|
|
|
|
|
|
|
|
|
|
| Next: The following three images show the new four-tier reserve UHF aerial which replaced the original four-tier configuration seen above. |
||
|
|
|
|
|
|
|
|
|
|
|
|
|
|
|
|
|
|
|
|
|
|
|
|
|
|
|
|
|
||
|
|
|
|
|
|
|
|
|
Next: Some larger post-DSO images. |
||
|
|
|
|
|
|
|
|
|
|
|
|
|
|
|
|
|
|
|
|
|
|
|
|
|
|
|
|
|
|
|
|
|
|
|
|
|
|
|
|
|
|
|
|
|
|
|
|
|
|
|
|
|
|
|
|
|
|
|
|
|
|
|
|
|
|
|
|
|
|
||
|
|
|
|
|
|
|
|
|
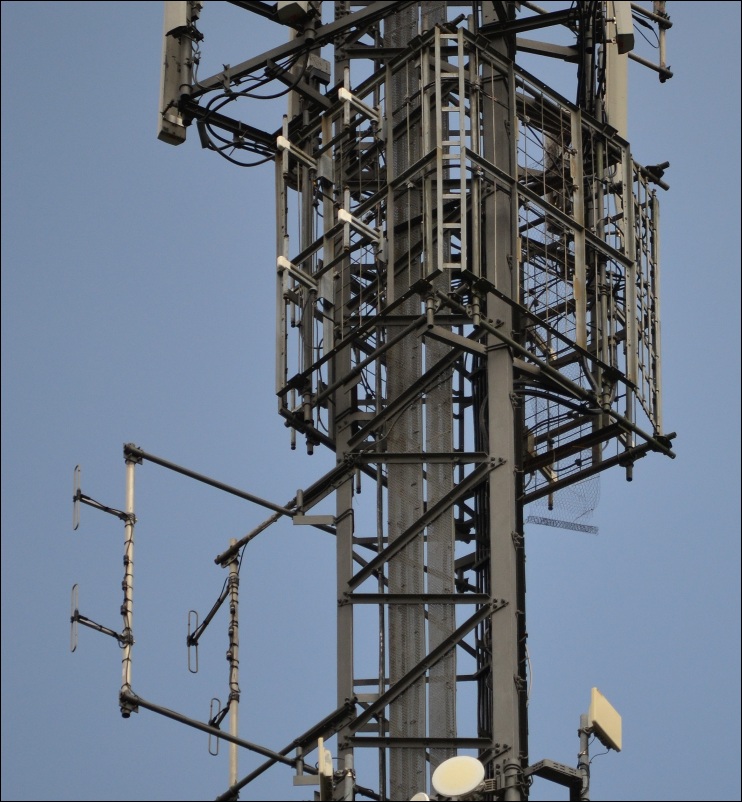
Next: Some images which focus on the middle section of the mast, including some (probably redundant) UHF panels below FM Band II and also DAB aerials. |
|
|
|
|
|
|
|
|
|
|
|
|
|
|
|
|
|
|
|
|
|
|
|
|
|
|
|
|
|
|
|
|
|
|
|
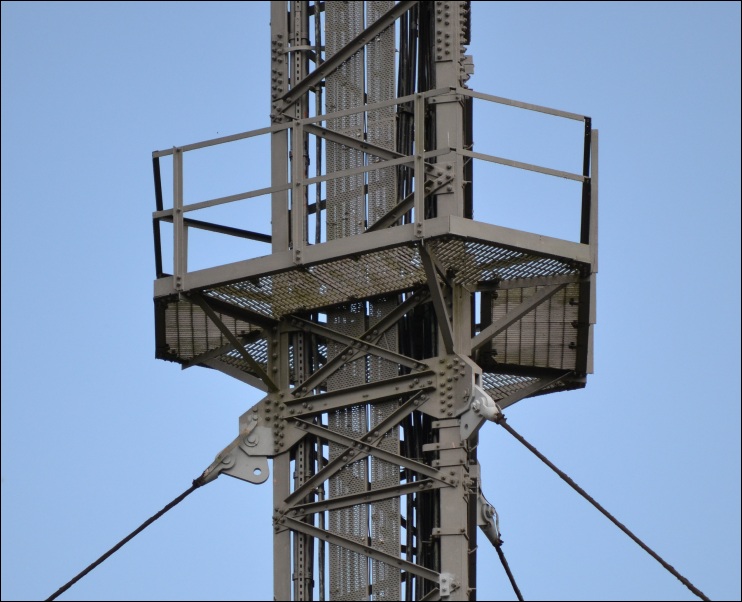
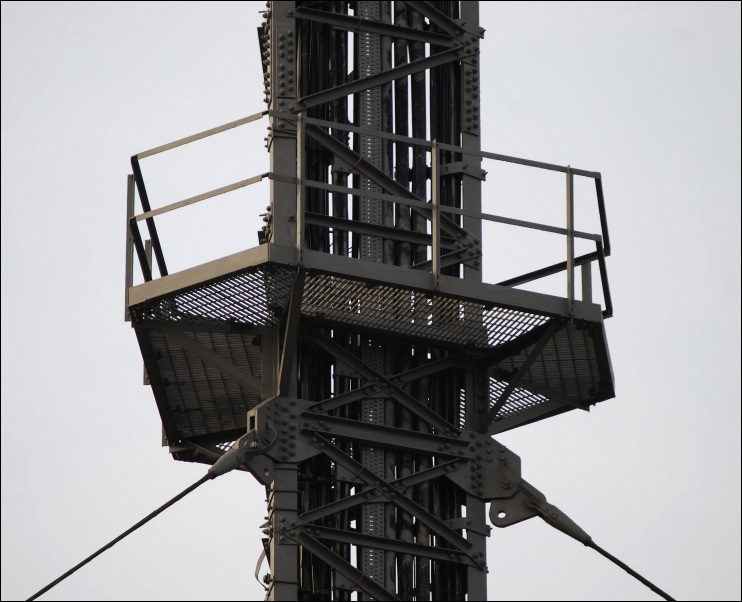
Next: Last of all, some mast platform images. |
|
|
|
|
|
|
|
|
|
|
|
|
|
|
|
|
|
|
|
|
|
|
|
|
|
|
|
|
|
|
|
|
|
|
|
|
|
|
|
|
|
|
|
Heathfield Home> Mast Images> Aerials> Site Images> UHF Coverage Map |
|
|
|
|
|
|
|
|
|
|